
Whether you are a freelancer, a small business owner, or only a part-time consultant, preparing invoices is a necessity for any business. So, invoices themselves say it all—staying on top of your invoices is imperative not only to ensure you get paid for the work you do but also to have an accurate series of transaction records. The good news is that you do not need any pricey software to design an attractive invoice.
In this article, we will guide you through an easy step-by-step process for creating a free invoice generator using some handy online tools that anyone can use free of cost.
Why Professional Invoices Are Important
But before explaining the procedure, let’s consider why your business needs professional invoices.
- Timely Payments: Well-designed invoices let your clients know what you are paying for in a way that your clients can identify them.
- Branded: An invoice is more than a bill; it represents an extension of your brand. That means that the way your invoices look is a reflection of your clients.
- Keeps Your Finances Organized: Invoices are your financial records, which will help you manage and file taxes and calculate pending payments easily.
- Legal Protection: Invoices also serve as evidence of payments and could be used in case of an error or a dispute on the paid amount, hence giving you the documentation needed for backup.
Guide to Creating Invoices for Free
Step 1: Choose a Free Invoice Template or Tool
The first step in making a professional invoice is to find an appropriate tool or template for your requirements.
Fortunately, there are many free options on the web:
- Google Docs & Google Sheets: For free templates, you can personalize Google Docs and Google Sheets. Just type the invoice into the template gallery search.
- Microsoft Word & Excel: Microsoft also has invoice templates for download. If you don’t own a copy of Microsoft Office, then Office Online is free, too.
- Stubcreator’s Invoice Generator: Sites like Stubcreator’s Invoice Generator let your browser build invoices in-browser without any downloads or sign-ups.
- Wave is an accounting tool with a free version that allows you to create invoices. You can create invoices online, send them through the system, and track everything, too.
- Canva: You can opt for hundreds of free invoice templates through Canva, a free design software. You can customize the template to add your company’s colors, fonts, and logo.
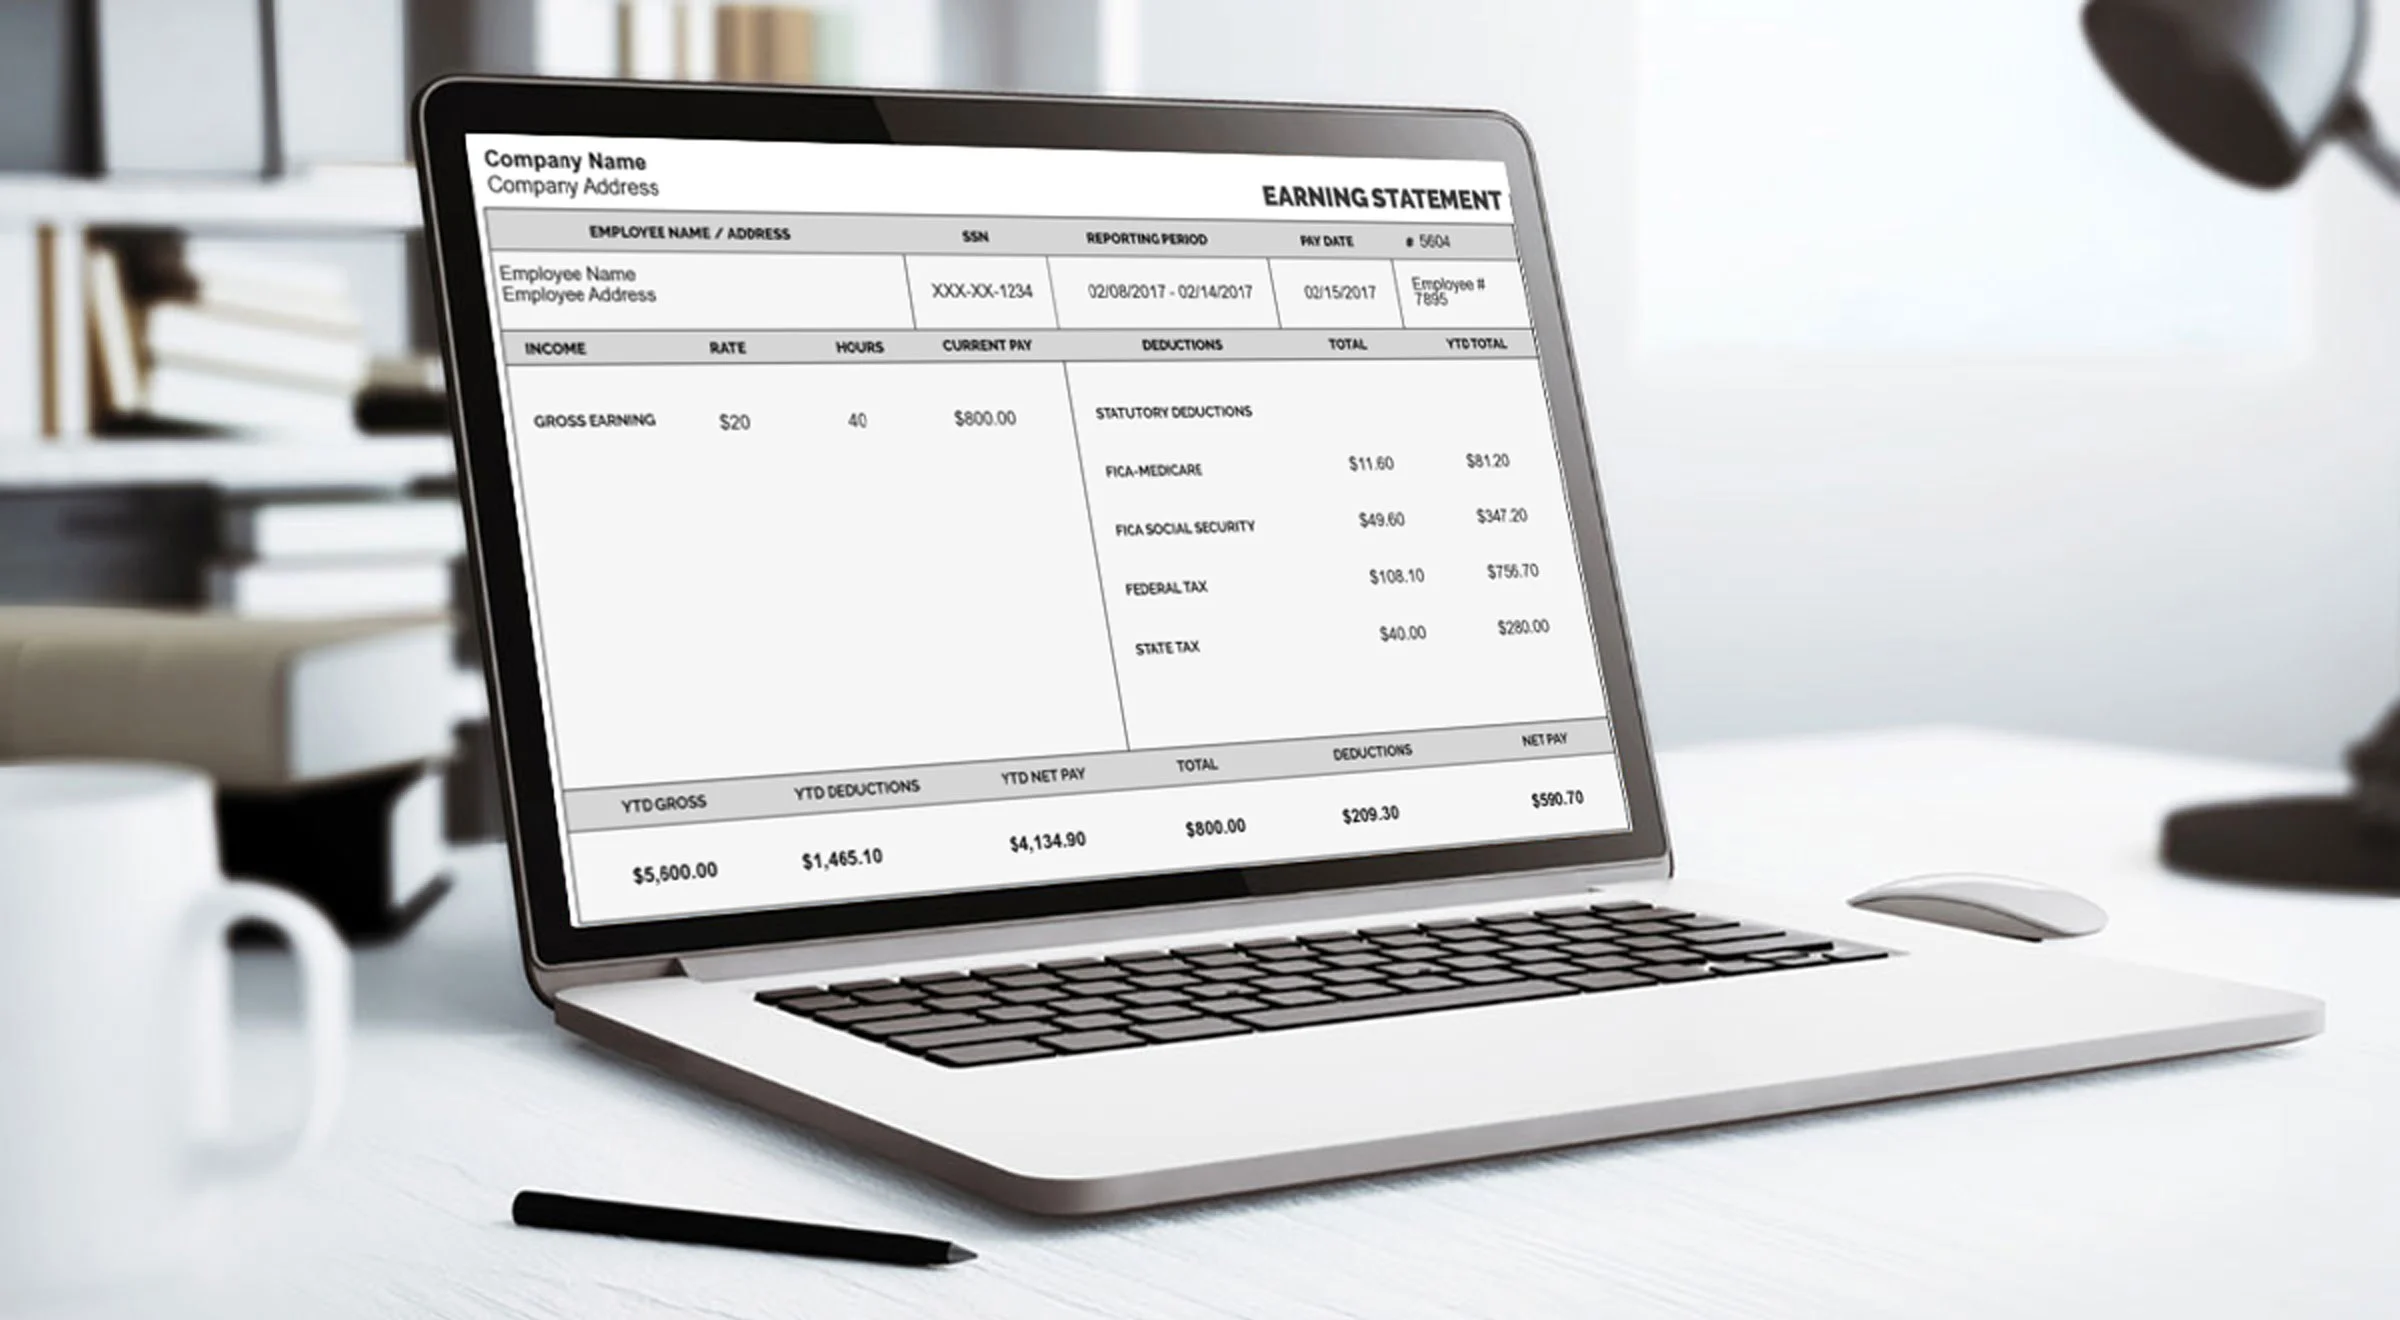
Step 2: Add Your Business Information
When you have created your template, click Enter Your Business Details. These are your business details, including.
- Name of Your Business: Make sure to use bold letters. Under that, include your logo if you have one.
- Contact Information: This will include your address, phone number, and email for contact, so they can reach you if needed to request that you seek clarification on the invoice.
- Customer Name: This is going to be the contact name of your client or the name of the business to which you are going to save it. This detail should be below the contact name of your client.
- Invoice No: Every invoice shall have a unique invoice number. This is a computerized way through which you can track your payments and records.
- Date of invoice: This is the date you issued the invoice. This defines the date by which the payment must be made.
Step 3: Detail the Products or Services Provided
Describe the service or product: Be very clear about the services or products you offer to customers. Include the following:
- Service provided: Describe the type of service you are offering.
- Material involved: State the material used to provide the service.
- Measure of service: In this section, note the measure of service you will provide.
- Detail: Provide a non-vague description of any product and/or service. For instance, instead of writing “Website Design,” write “Complete Redesign of the Client’s Website, Including the Homepage, About Page, and Contact Form.”
- Number: Write how much you are charging for or how many hours. For example, if you invested 10 hours on a project, you can write down 10 hours.
- Set the rate per item or hour. Make sure it is the same rate you signed up for in your contract.
- Calculate Total Amount: This is the total calculation for every line item in (Quantity Rate).
- Calculate Quantity Rate: The new rate is the quantity of items multiplied by the rate per worker. Sum these numbers to get the total amount due.
Step 4: Include Payment Terms and Conditions
This section will inform you of when and how you’re expected to pay:
- Date payment is due: State the date on which payment must be received. Common phrases include “due upon receipt,” “Net 30 days,” or “Net 15 days,” depending on what your agreement is with them.
- List of accepted payment methods: Inform people how they can be paid (e.g., bank transfer/PayPal/credit card), as it is easier for them to let go of what they have earned, and that may motivate them more to do so.
- Late Charge Fee: If you are going to charge late fees, write it down here, too. For example, a word quote clearly states, “If payments are received after the due date, then 5% of the amount is added as a late charge.”
- V-Note: This is the page where you can attach anything you still feel should be added, such as a “Thanks in Advance” message or description of your return policy, if appropriate.
Step 5: Review and Send the Invoice
Before sending your invoice, take a few moments to review it:
- Double-check Details: Ensure all the information is correct, including client details, amounts, and payment terms.
- Proofread: Typos and grammatical errors can make your invoice look unprofessional. Proofread your document before sending it.
- Save as PDF: Before sending your invoice, save it as a PDF to ensure that it looks the same on any device. This format is widely accepted and prevents accidental changes to the document.
- Send via Email: Attach the PDF to an email and send it to your client. Use a precise and professional subject line, such as “Invoice #123 from [Your Business Name].” In the body of the email, include a brief note reiterating the invoice amount and due date.
Confirm your invoice and mail it.
Please take some time to review it before submitting it; check all the details, from the client’s name and amount, to and including the payment term.
That is everything, starting from pricing and work hours up to a silly shipment fee. You should also proofread your invoice because typos and grammatical mistakes give an unprofessional appearance. You must also review the work before sending it off. You can send them via:
Save as PDF: Whenever you send your invoice, ensure it is in the same format from one device to another by saving it as a PDF. It is that very format that saves documents from any further mistaken changes.
Email: Attach the PDF in an email to your client. For instance, for Invoice #123 from [Your Business Name], write a few lines within the body of the email clearly stating how much is due and by when.
Step 6: Follow Up on Unpaid Invoices
Sometimes, people need to remember, and paying on time is not in their memory. You have to set up a follow-up system in order to collect your fee.
- Gentle reminder: If the payment has not been made, send a gentle reminder a few days after the due date. Note the pending payment and attach a photocopy of the original invoice.
- Follow-up email: If you have not received a response, the next step is to send them an email or call them. Be stern yet polite.
- Late Fee: If a late fee is added to your bill, it will be applied if the payment is not made within a specified deadline.
- Escalate: Escalation is only used on rare occasions. If you have to escalate, you’d use a collection of agencies or a lawyer, but only as a last resort.
Conclusion
Creating professional invoices is easy and shouldn’t necessarily break the bank. Use the right tools and pay special attention to details—this way, you will be able to create high-quality invoices, which, in the process of generating profits, will ensure repayment of the payment. Based on this accurate step-by-step guide, prepare to cope effectively with the sending and supervision of your professional invoice.
FAQ's
What is a free invoice generator?
+
A free invoice generator is an online tool that helps you create professional invoices without any cost. It typically offers customizable templates and easy-to-use features.
How can I use a free invoice generator?
+
To use a free invoice generator, select a template, input your business and client details, list the products or services provided, and customize the invoice as needed. Then, save or download the invoice.
Are free invoice generators secure?
+
Most reputable free invoice generators use secure servers to protect your data. However, always check the privacy policy and security measures of the tool you choose.
Can I customize my invoices with a free generator?
+
Yes, many free invoice generators allow you to customize templates with your business logo, color schemes, and payment terms to match your brand’s style.